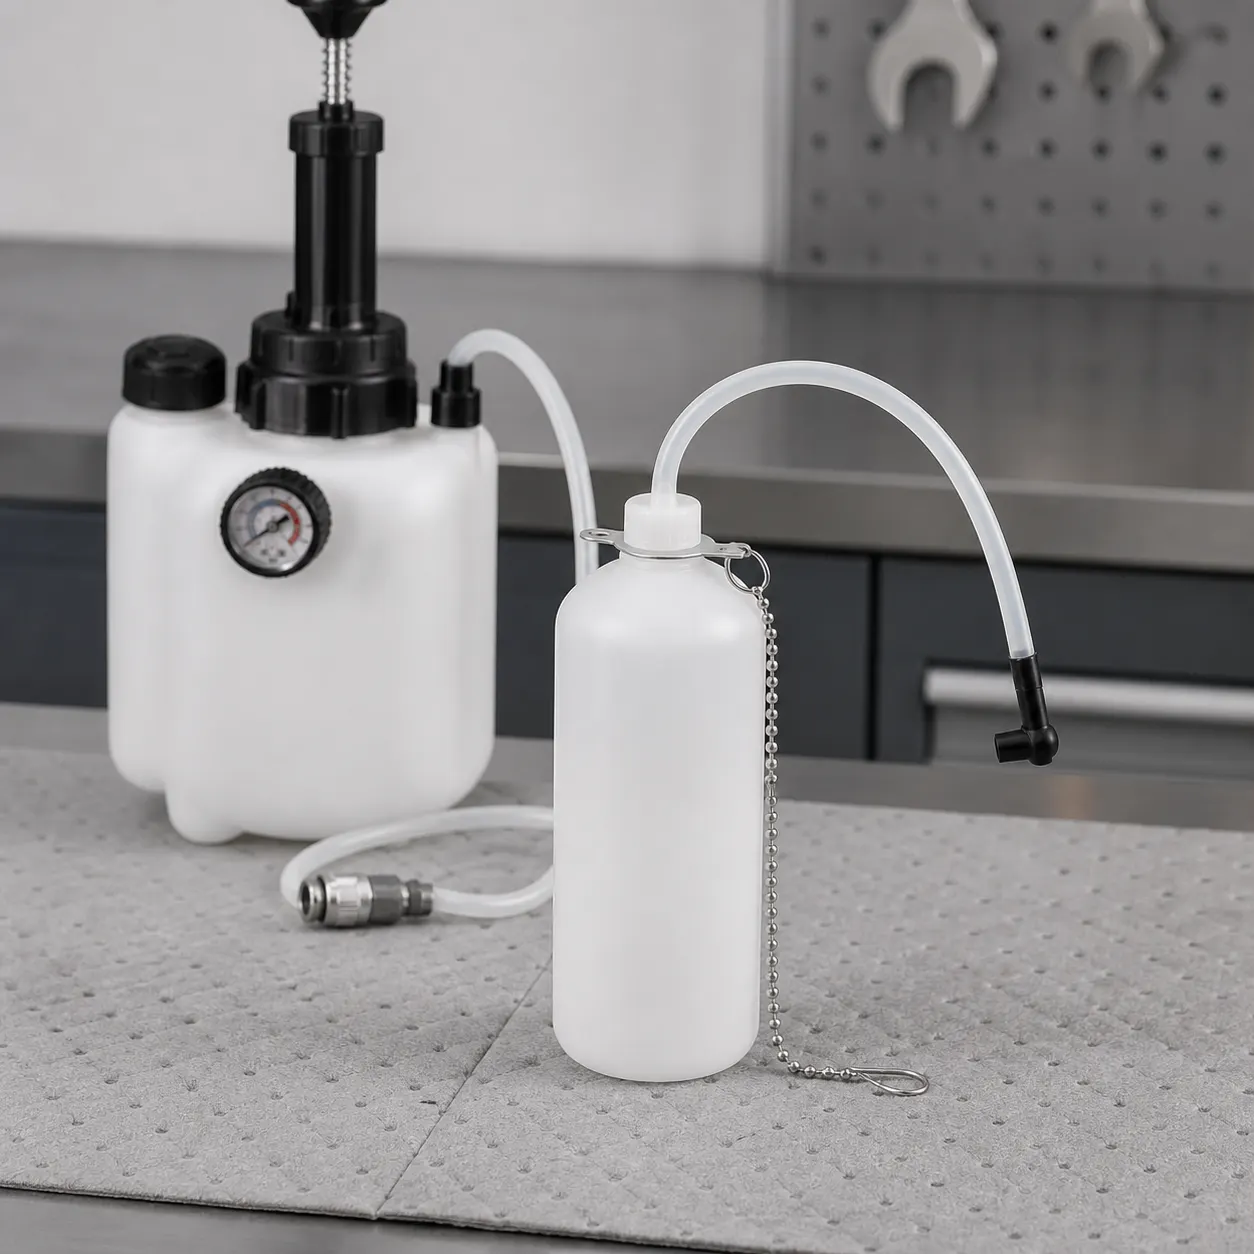
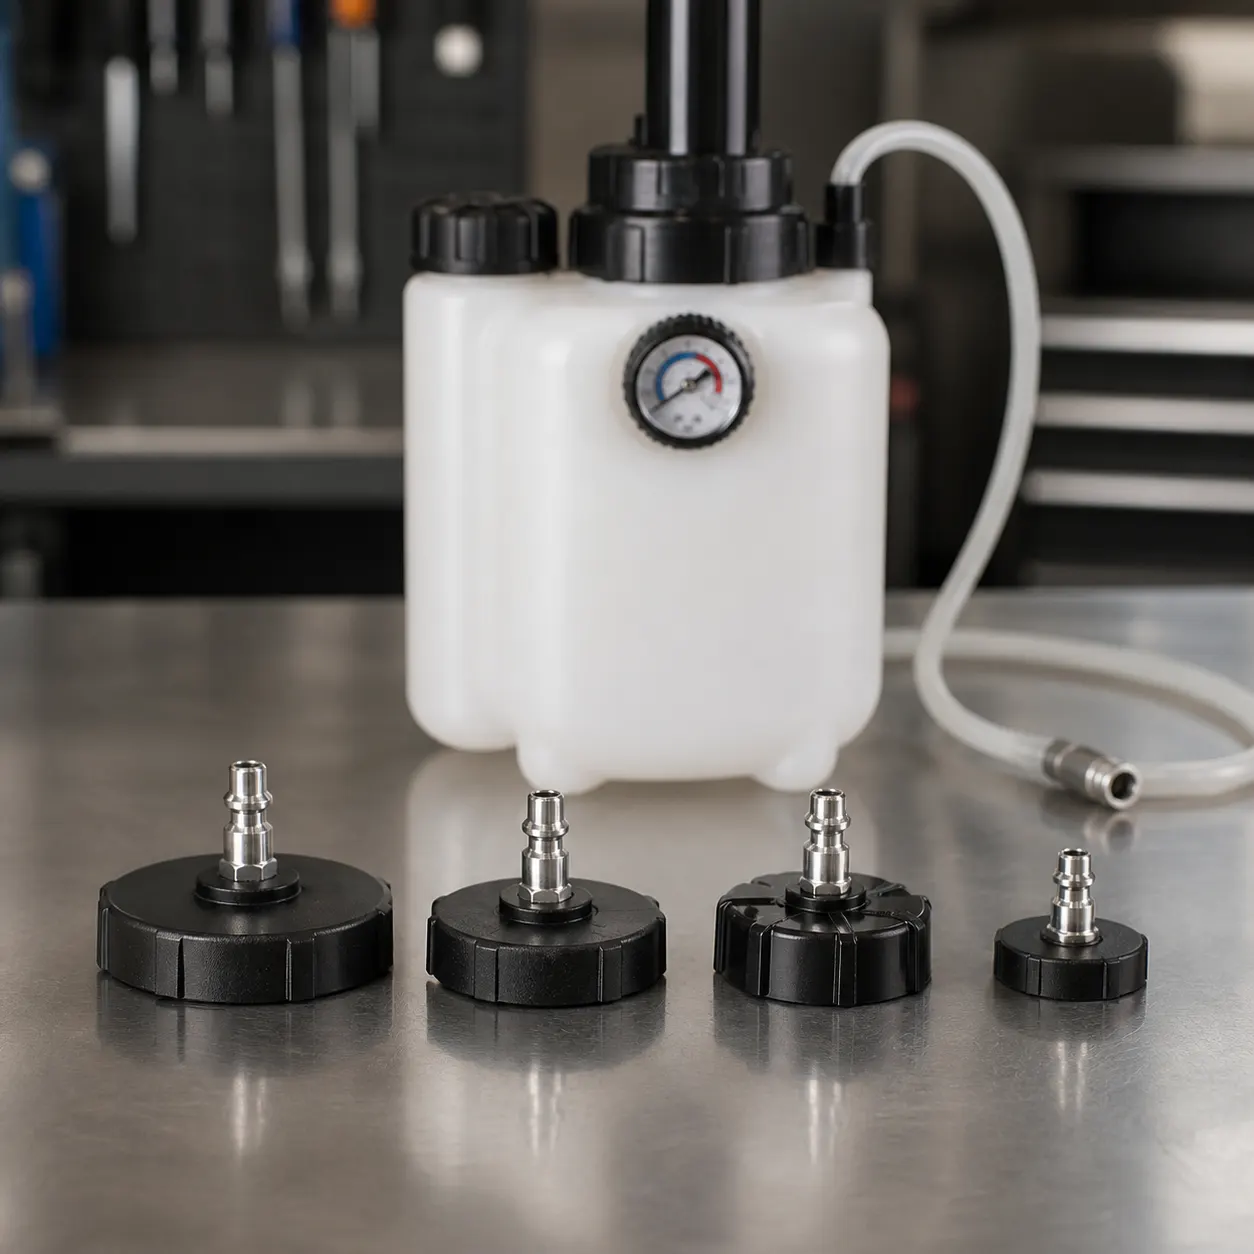
Short answer: A one-man brake bleeding bottle does not by itself make brake bleeding a safe one-person job. The Carbleeder product is documented as a 3L fluid refill bottle with four adapters, selected as VKS6003-4. It may support fresh-fluid supply at a compatible reservoir while another approved method moves and collects fluid. The manufacturer does not specify adapter fit, pressure operation, a one-way valve, waste collection, ABS routines or any vehicle-specific sequence. Before buying, confirm exactly which task the bottle performs and whether the remaining work, access and final brake checks are within your competence.
Separate marketing language from the documented function
The current page describes a 3L refill bottle with four adapters for automotive fluid refill use. That supports a reservoir-supply role. It does not document a check valve, pressure source, vacuum source, catch bottle or pedal-operating device. Therefore one-man should be treated as a search intent, not as a verified product capability.
Write down who or what will perform each part of the intended method: supplying fresh fluid, moving fluid through the circuit, observing the reservoir, collecting discharged fluid and carrying out the final checks. If any part depends on an assumed product feature, the setup is not yet evidenced.
| Required function | Documented for this product? | Buying response |
|---|---|---|
| Reservoir refill capacity | Yes, 3L bottle | Still verify the appropriate fill quantity and setup |
| Four adapter pieces | Yes | Obtain exact fitment evidence |
| Pressure, vacuum or one-way operation | Manufacturer does not specify | Do not assume a solo method |
| Waste-fluid collection | Manufacturer does not specify | Plan separate suitable collection |
Use the vehicle procedure as the authority
Hydraulic layouts and bleeding requirements can differ, including systems that need manufacturer-specific diagnostic or workshop steps. The bottle page does not publish a sequence for any vehicle. Use authoritative service information for the exact model and do not turn a general article into a substitute for those instructions.
Fluid choice and permission to top up are vehicle-specific. Tesla's official service guidance tells owners not to top up brake fluid themselves and refers to the appropriate fluid within its documented procedure. That example does not define another vehicle's requirements; it demonstrates why the product listing cannot do so.
- Confirm the exact vehicle procedure and whether specialist equipment or diagnostics are required.
- Confirm the brake-fluid specification and follow the exact vehicle service procedure.
- Verify an adapter by documented dimensions or fitment rather than appearance.
- Assign separate equipment for discharged-fluid collection and safe access.
Do not simplify away workshop safety
HSE identifies brake fluids as hazardous substances in motor vehicle repair. Review the fluid safety data sheet and choose controls for contact, splash, storage and waste. HSE PPE guidance requires the selected protection to suit the actual hazard; a generic glove or spectacle claim is not enough without a task assessment.
Working alone also changes the response to a spill, unstable vehicle or unexpected hydraulic problem. Follow HSE guidance for supporting raised vehicles, keep communication or assistance available where the risk assessment requires it, and stop if the task cannot be observed and controlled safely.
- Keep fresh and waste fluid in separate labelled arrangements.
- Use PPE selected for the specific brake fluid and splash risk.
- Support any raised vehicle with correctly rated equipment on sound ground.
- Do not road-use the vehicle until the brake system has passed the required competent checks.
Unknowns that block a confident purchase
The manufacturer does not specify the four adapter sizes, supported reservoirs, vehicle list, pressure capability, valve design, fluid-grade compatibility, cleaning method, certification or electronic bleeding support. It also does not state that every part needed for a one-person bleed is included.
Choose the product only when a verified refill bottle is the missing item in an already understood setup. If the work involves a leak, seized component, warning lamp, abnormal pedal, unknown ABS procedure or uncertain final performance, the correct next step is competent diagnosis rather than a broader claim for the bottle.
Related guides and product details
The Carbleeder bottle may reduce reservoir-side interruption, but it is not evidence of a complete one-person brake bleed. Buy it only after fit and role are documented and keep the hydraulic procedure and final safety decision with competent vehicle guidance. Read Brake Fluid Refill Bottle UK: Checks Before Buying for related guidance. Read Brake Fluid Reservoir Bottle: Role, Fit and Safety for related guidance. Review the documented specification on the 3L Brake Fluid Refill Bottle with 4 Adapters product page before ordering.
Sources and safety context
- Supports the 3L capacity, four adapters, VKS6003-4 selection and refill-use category. Current Carbleeder product page.
- Supports the brake-fluid hazardous-substance boundary. HSE: COSHH and motor vehicle repair.
- Supports selecting PPE for chemical splash and the actual task. HSE: Using the right type of PPE.
- Supports safe vehicle lifting and support controls. HSE: Working safely under motor vehicles.
- Manufacturer example showing that vehicle-specific instructions control brake-fluid selection and topping up. Tesla: Checking Brake Fluid.